A few weeks back I had visit from one of my good old Arizonan friends. Cool as cool can be since we met in high school, girlfriend is the original hipster (that means before the word became tainted and meant a truly original-effortlessly chic little lady). Naturally, my default taste for black, white and pretty much anything painfully orthodox is completely disrupted by her presence. She polishes her nails and lightly curls her hair but chooses her outfits like a little girl plays dress up – fearlessly, playfully – adorning herself in subtle baubles that don’t scream ACCESSORIZE and patterns that don’t “match,” but actually totally do.
I love this about her. The way she is so truly immersed in her own sense of style and yet it so refreshingly original and perfect all at once that everyone wants to have it but no one can fathom how to emulate it.
So, of course, going out to a thrift store together, I ended up making a haste purchase of very unnecessary, un-like-me things, like a gorgeously framed/matted picture that was terribly faded and bland. Hello $7 art project.
And so the DIY Art story goes…
Here is the before picture. Very faded from the sun. Boring and apparently not an original. I don’t know who spends big bucks on getting this poster professionally framed but there must be a small population who likes to do that so… more power to them!

Before Image
We also payed a visit to my favorite addiction, Daiso. Pretty much a Japanese dollar store that mass produces everything you could ever possibly need but somehow adds a touch of pink or a cute animal shape to it. You can get erases that look like food and just about every baking utensil or mold you could ever possibly need but all in the size of an easy bake oven kit.

Paper Strips
So we bought these strips to make paper stars and realized they were the wrong size….

Strips!
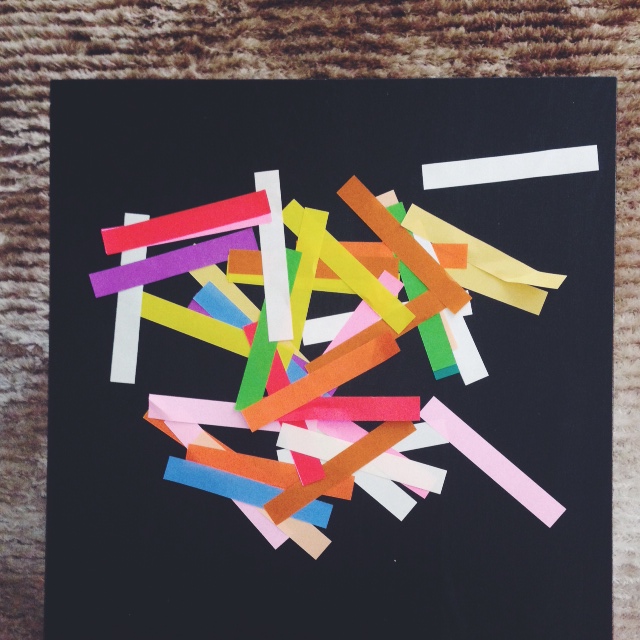
So with a help of some Modge Podge, a really thick paint brush and patience that I rarely have for crafts as such, you’ll get artwork like the geometric rainbow effect below. Clearly, I liked all the colors so I just went to town but if you happen to be more into darks or more into pastels the packet had a ton of each so you could easily vary a smaller amount of colors.
Simply line up and stack the strips one by one. I also added a strip down the center to break the horizontal lines.

Finished Art
Now on to the FUN stuff.
I might have spontaneously felt really inspired to get this started and literally ripped apart the original framing. I ended up cracking the glass and coercing my assistant (errrhm, my boyfriend) to assist me in cleaning it up after it scattered all over his desk rug. WOOPS.
Alas, getting started on framing the new art, I had no idea how to put back the hack job that I made out of the (previously gorgeous) metal frame. I searched EVERYWHERE on Youtube and the internet on how to frame artwork. Apparently everyone and their dog needs to learn how to put a picture in a pre-made frame (insert impatient glare here) and how to cut matting so it matches the photo (insert Grumpy Cat’s face here) but no one cares about building tricky metal frames. Finally, I found a video on how to do so and, while I spent the majority of my video debating the sex of the demonstrator, it proved to be a really easy task!

Frame
Start with the four metal sides, your screws, corners and spring clips.
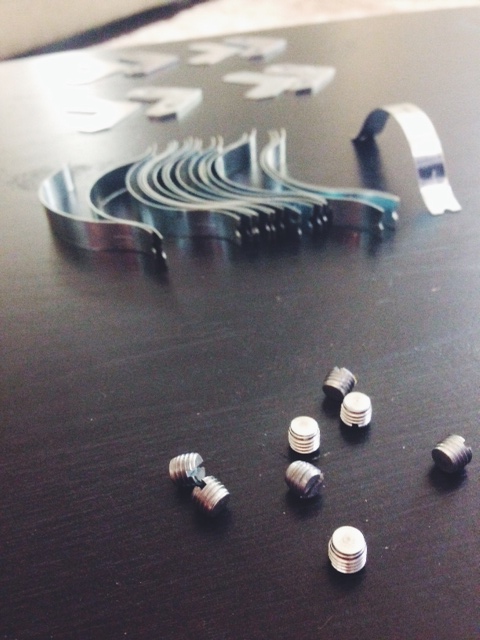
Screws, Corners and Spring Clips
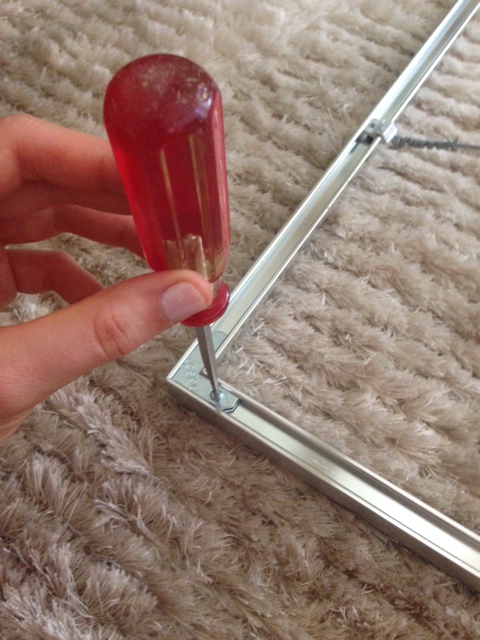
Secure the bottom left and right corners.

Put all your screws on the shag rug so you lose them and spend twice as long framing this art.


Once you’ve tighten the bottom two corners, carefully slide the art into place.
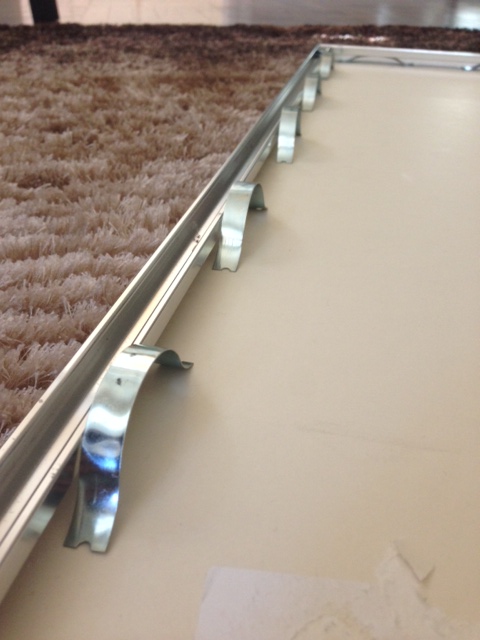
This was personal preference, but I lined up the spring clips before I slid them in so that they’d be evenly dispersed.

The final product.
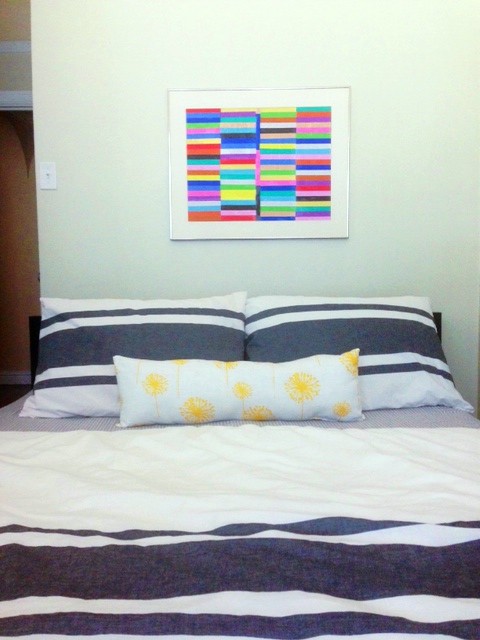
Wall Art